Howto: Backup your Nym Mixnet node's keys


Hello!
So, your mixnode is up and running, you have the latest version and everything is good? Now it is a good time to backup node's keys. Generally, people rarely think about backups until something goes wrong, let's not do the same.
There are various ways to backup keys, we are going to do it using rclone today. It is a great utility to synchronize files between your server and remote storage. There are many popular providers supported like S3, Cloudflare R2, Dropbox, Google Drive, Storj and many others, you can find a list of all providers here.
- First, we need to install the latest version of rclone but most OSs have got an older one. Let's download it from the official website (the latest version is 1.67 as of time of writing)
wget https://downloads.rclone.org/v1.67.0/rclone-v1.67.0-linux-amd64.deb- Let's install it using dpkg
sudo dpkg -i rclone-v1.67.0-linux-amd64.deb
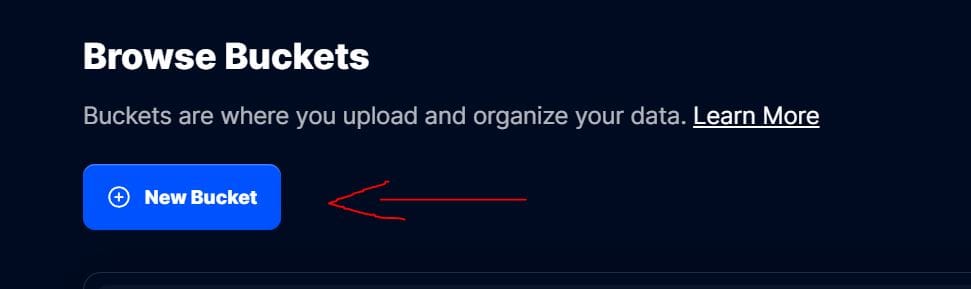
- Now we need to config rclone. I am going to show how to configure it with Storj. If there is enough demand - I will do a guide on other providers. You will need an account with Storj, which you can register here, there is trial available. Once everything has been set up, let's create a bucket (this is like a folder).
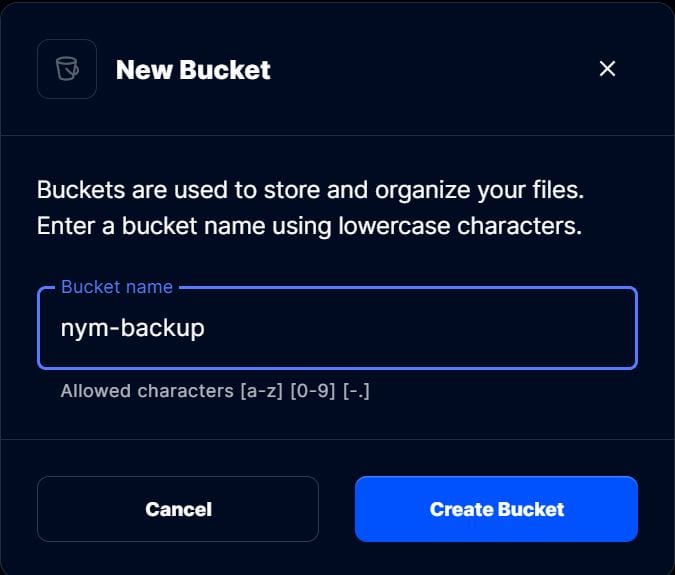
- You will need to enter the name for your bucket, it can only be lowercase letters, digits or dash. Let's name it nym-backup.
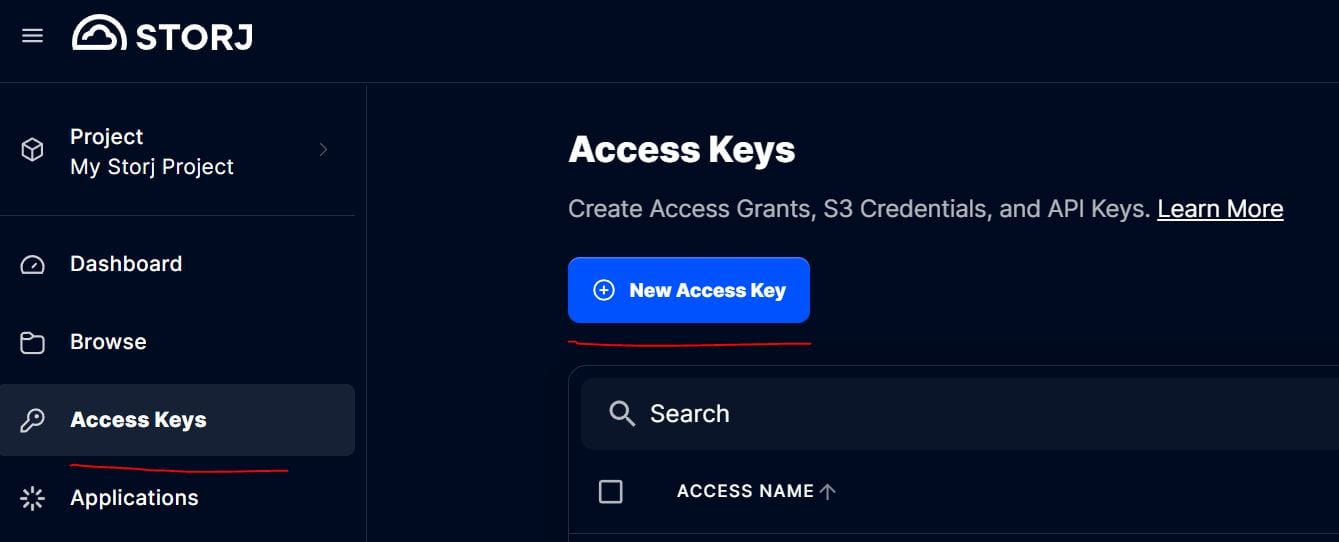
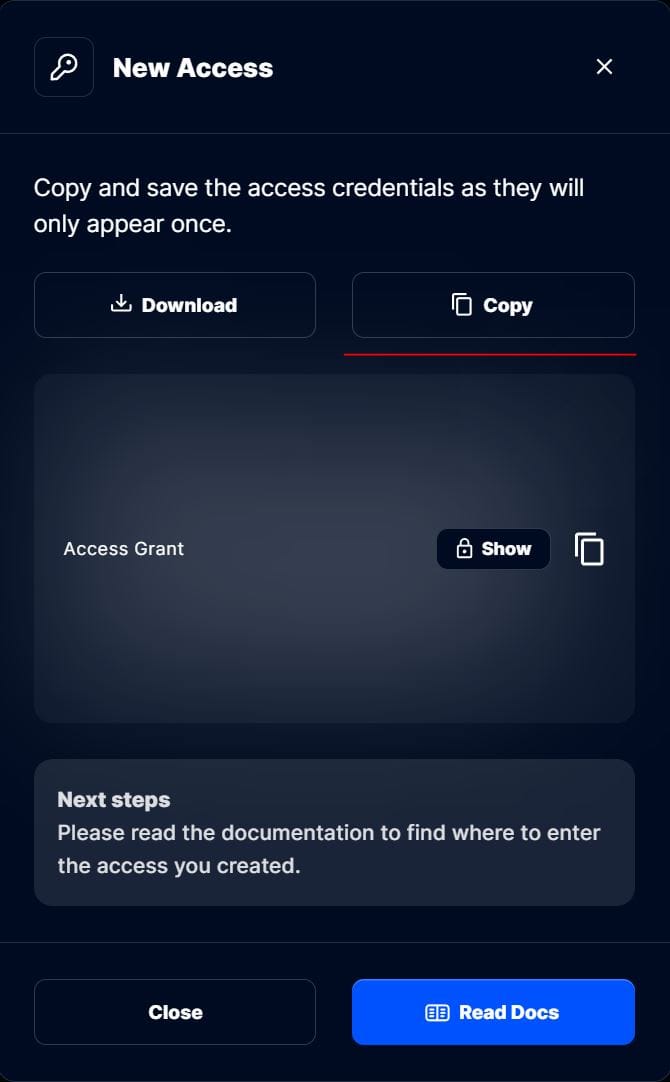
- Now let's create an access key, you will use it with rclone to access your bucket.
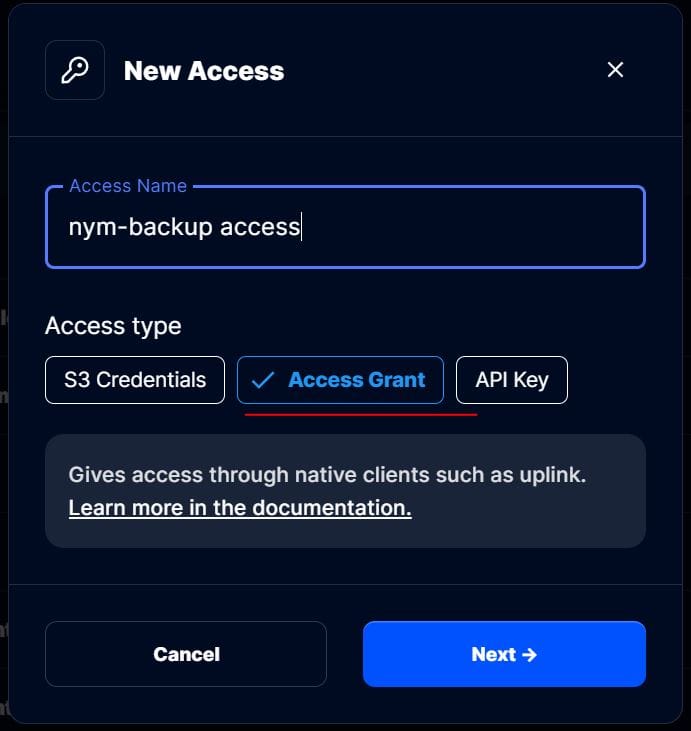
- You can name it whatever you want and select Access Grant.
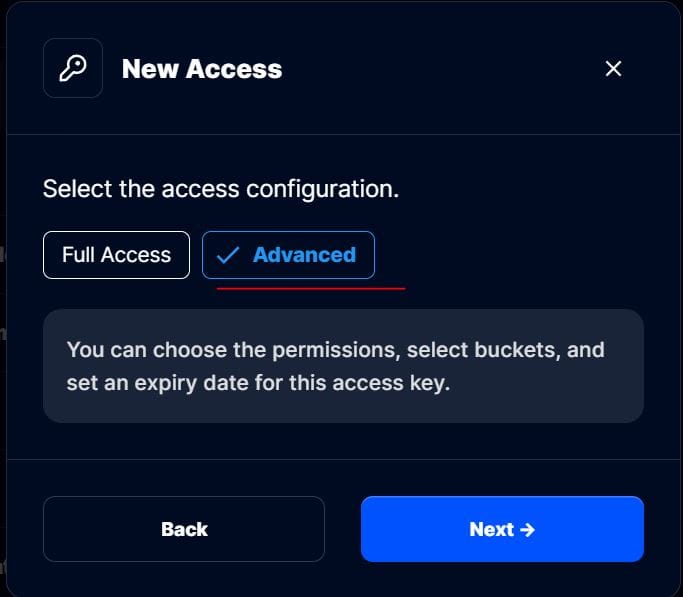
- Select Advanced.
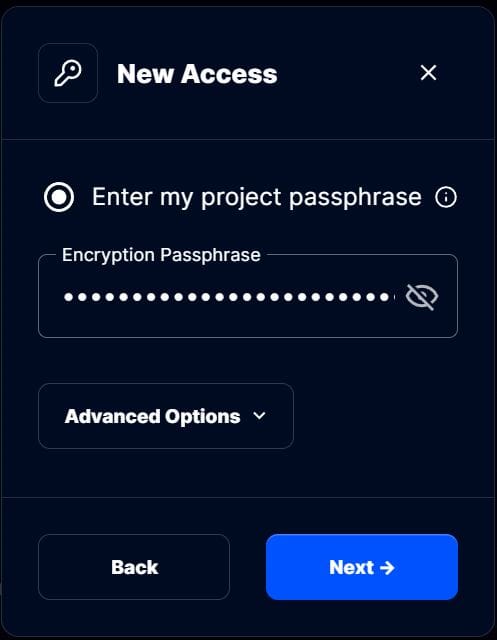
- If you see this window, you will need to enter encryption phrase/password for your Storj account.
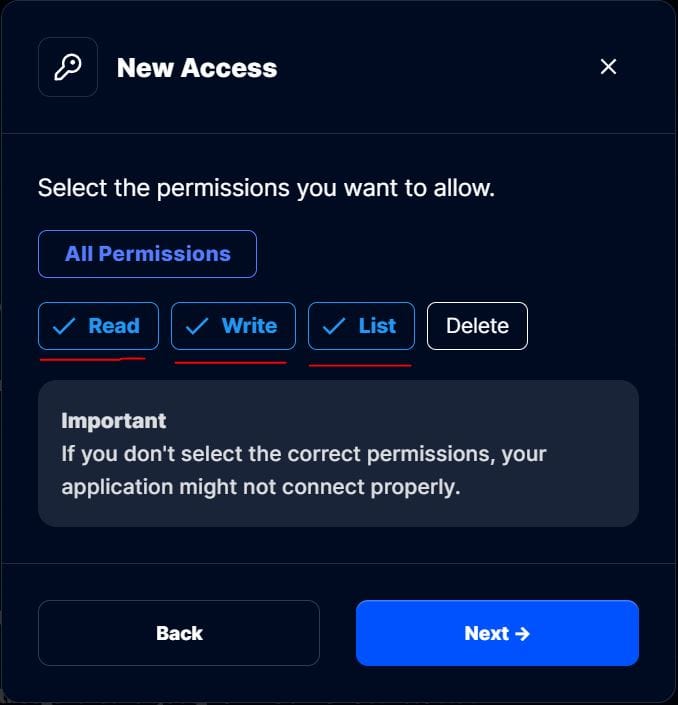
- Make sure you select Read, Write and List permissions
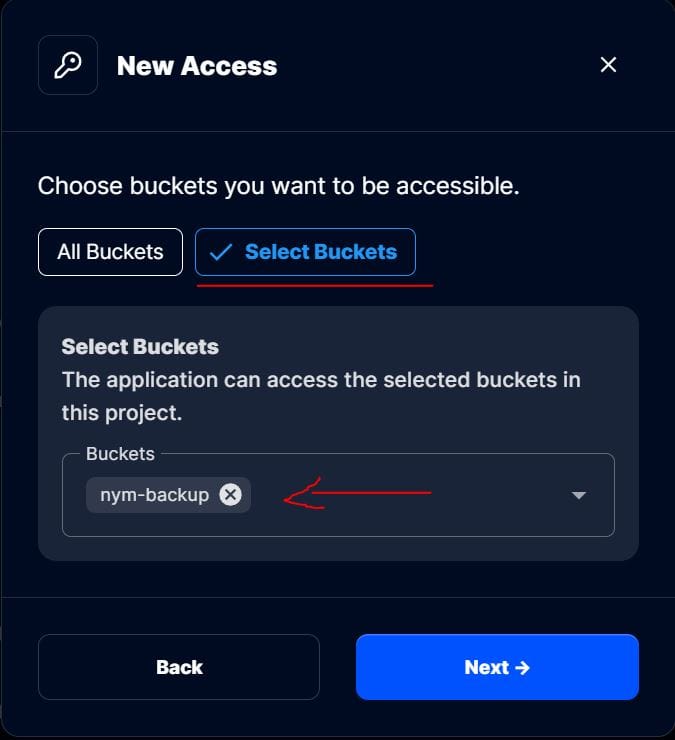
- Make sure you select Select bucket option and pick up your bucket.
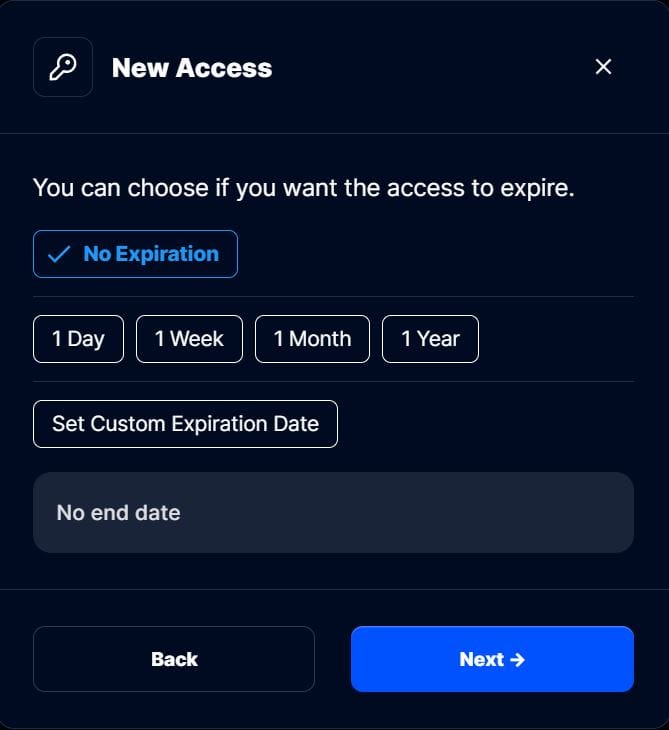
- Select No Expiration since we are planning to keep using this key.
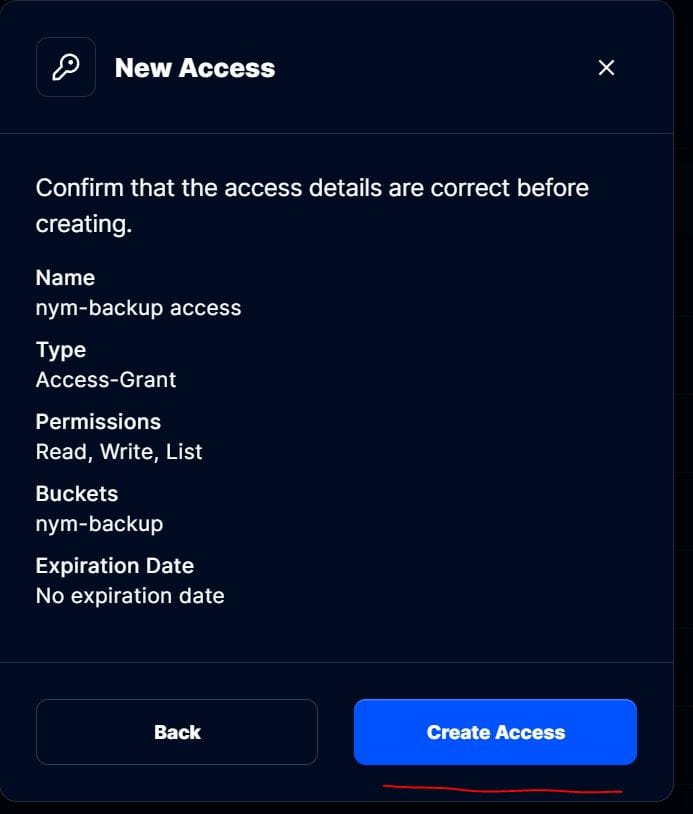
- This is just summary, click on Create Access.
- You can download and/or copy the Access Grant. Make sure you keep it safe, this is the same as you private key/password and everyone who has got access to it can access your bucket.
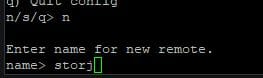
- Now let's config rclone on the server. Start by entering rclone config and selecting New remote.

- Enter any name, keep it short for convenience.
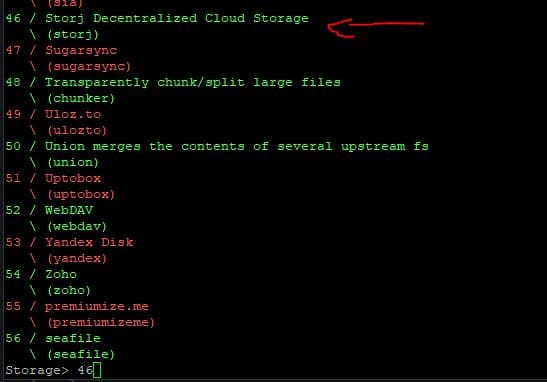
- Storj is number 46 in the list, enter it.
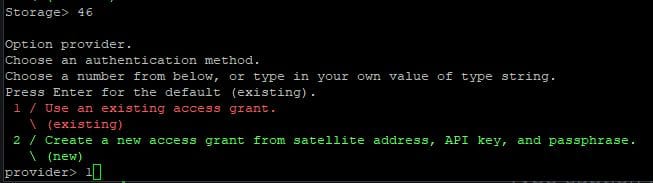
- We have created a grant, so just select option 1.
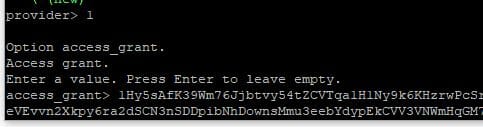
- Enter your Access Grant key and press Enter.
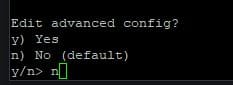
- Select n.
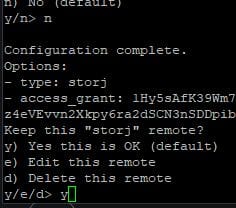
- Select y.
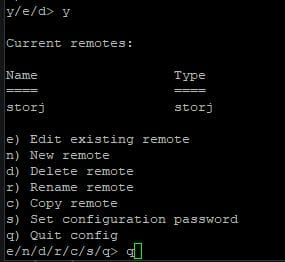
- Select q. This is the end!
- Now we need to archive our node's keys. Let's go to the home folder.
cd ~- We need to backup data folder here. Let's install 7z.
sudo apt install p7zip-full- Now let's archive a folder with the following command. This will create a password protected archive of the "data" folder. Make sure you substitute YOURID for your node's id you put when you set up your node. Please make sure you pick up a strong password of at least 16 characters long, write it down and keep it safe.
7z a -p nymkeys.7z mhe=on -r ~/.nym/nym-nodes/YOURID/data/- You should have nymkeys.7z in your home folder. Let's now synchronize it with Storj. Enter the following:
rclone lsf storj:
- It shows our bucket, this is good. Now let's upload the archive with the following command.
rclone copy --progress nymkeys.7z storj:nym-backup/
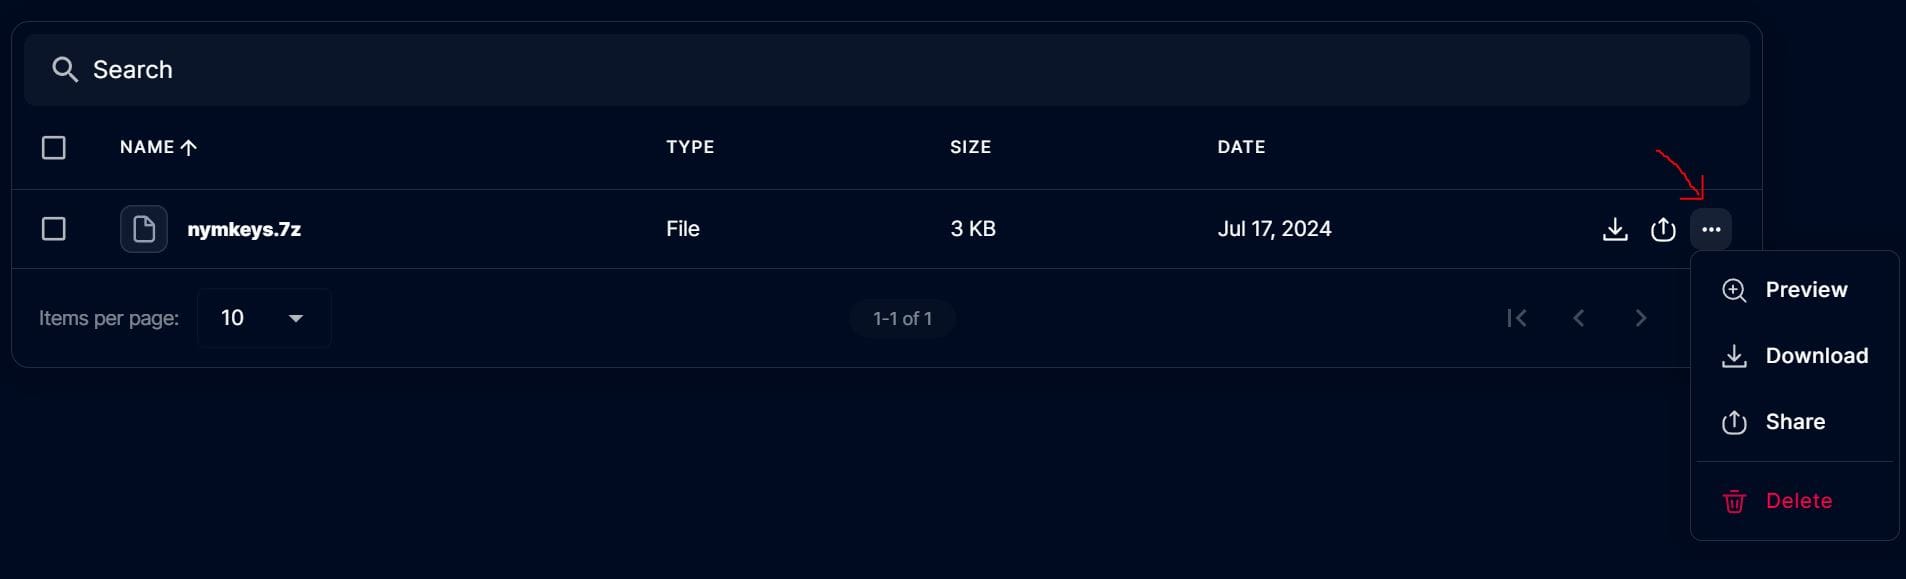
- This is it, the keys are backed up. We can check our bucket to make sure the archive is there.
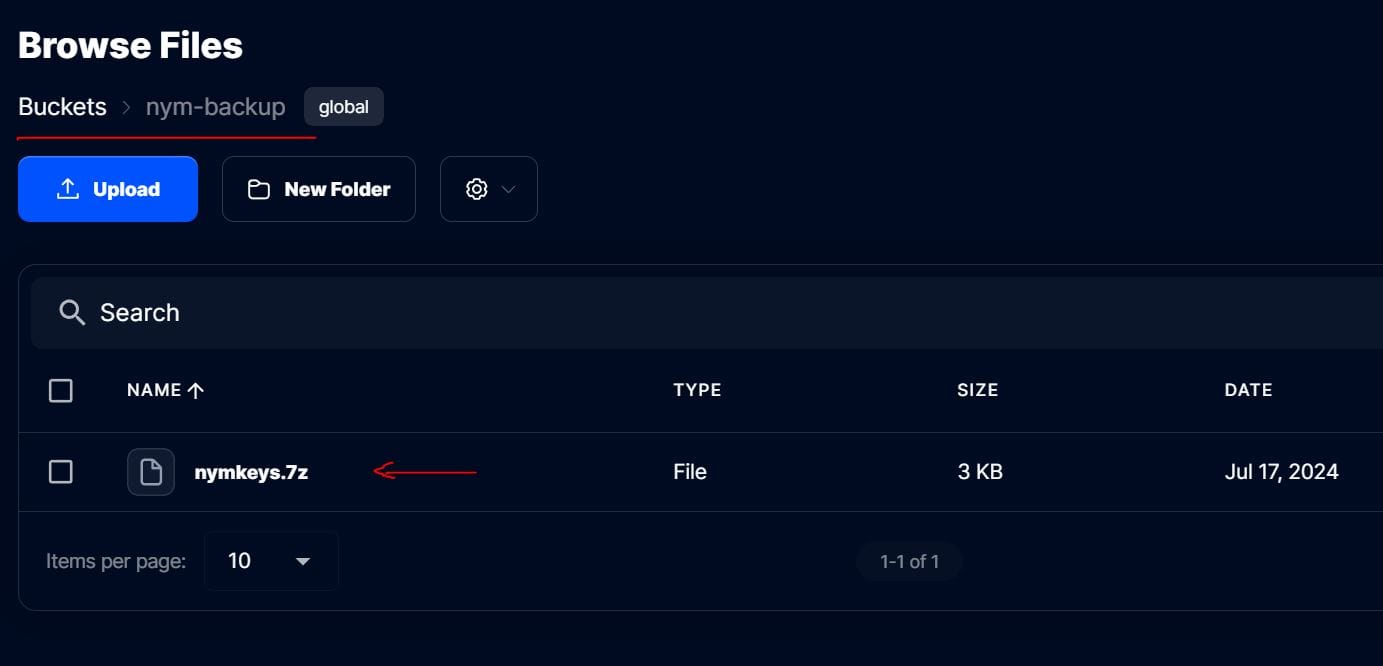
- If you click three dots, you can download your archive or share it, this is useful if you want to download the archive to store it remotely on a backup server. Do not lose your archive's password, otherwise your backup will become invalid.